


This is a quick, high-level tour of making a video in SportStudio, from picking a template to downloading the finished file.
Select a template
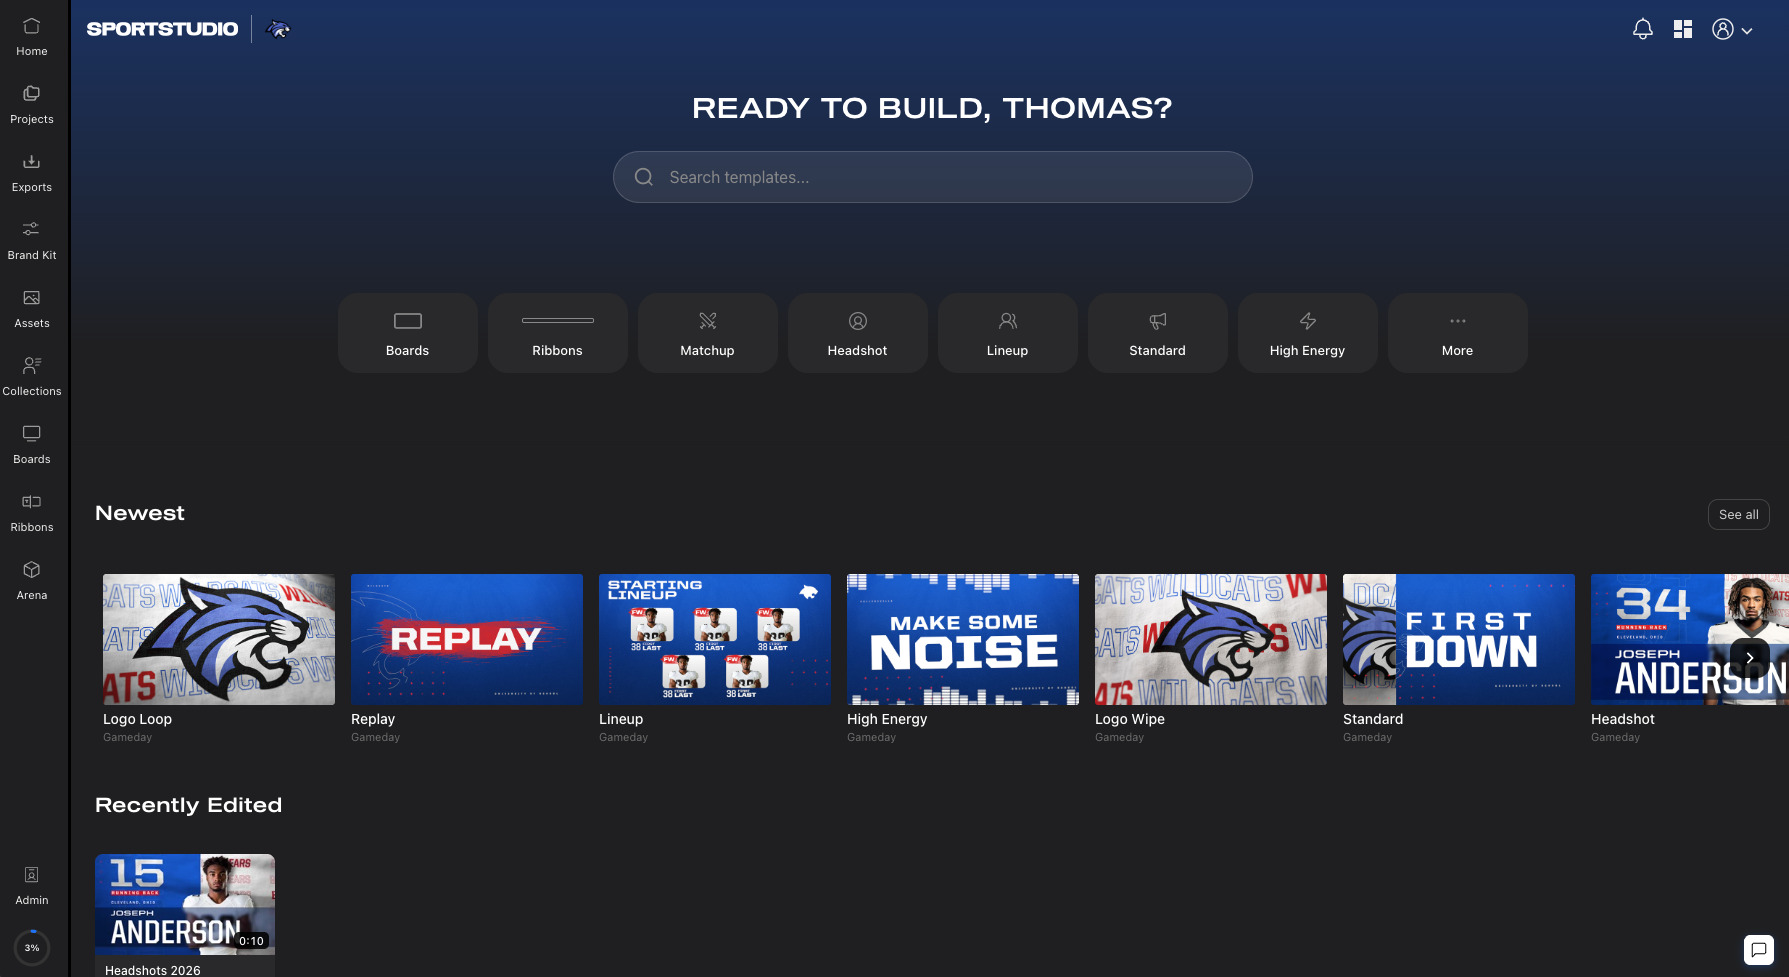
From your dashboard, open the template library. Every template is already designed and animated, so you're customizing a finished video, not building one from scratch. Open the one you want (this tour uses a headshot template).
Editor Panels
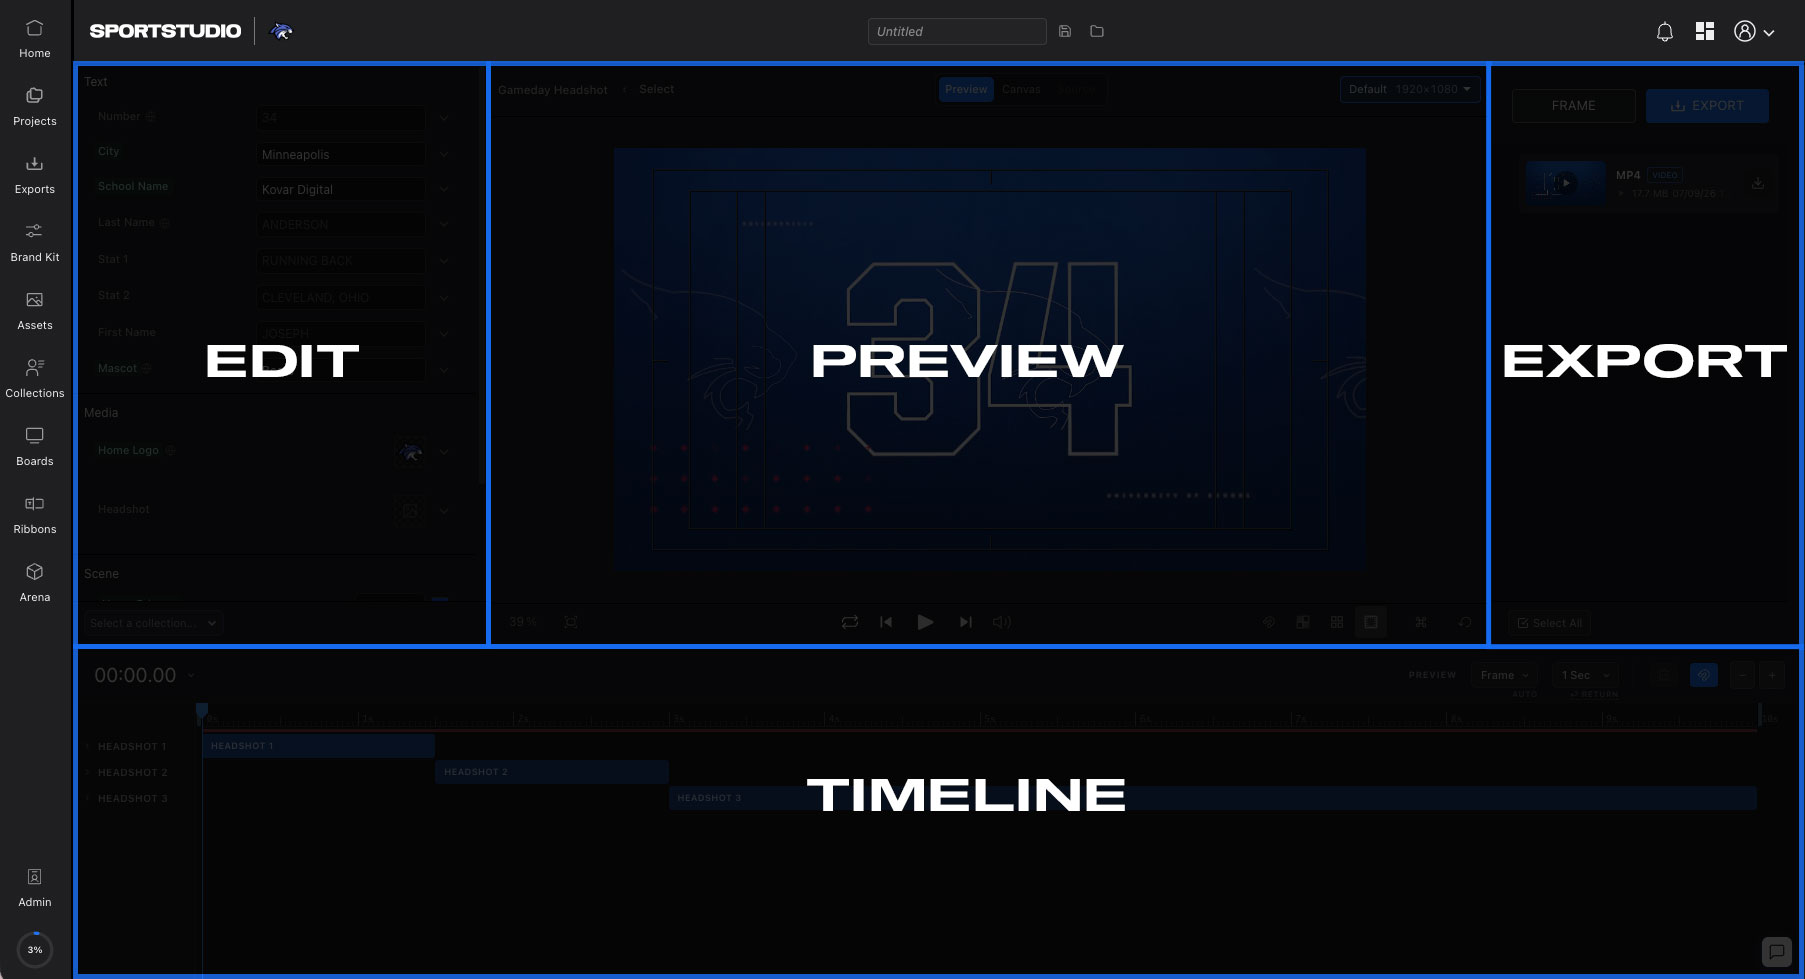
Opening a template drops you into the editor. There are four panels:
- Editor – where you change text, values, colors, and layout.
- Preview – a live look at what you're building.
- Export – where you create the final download.
- Timeline – a visual view of your video and its sections.
Set up your Brand Kit
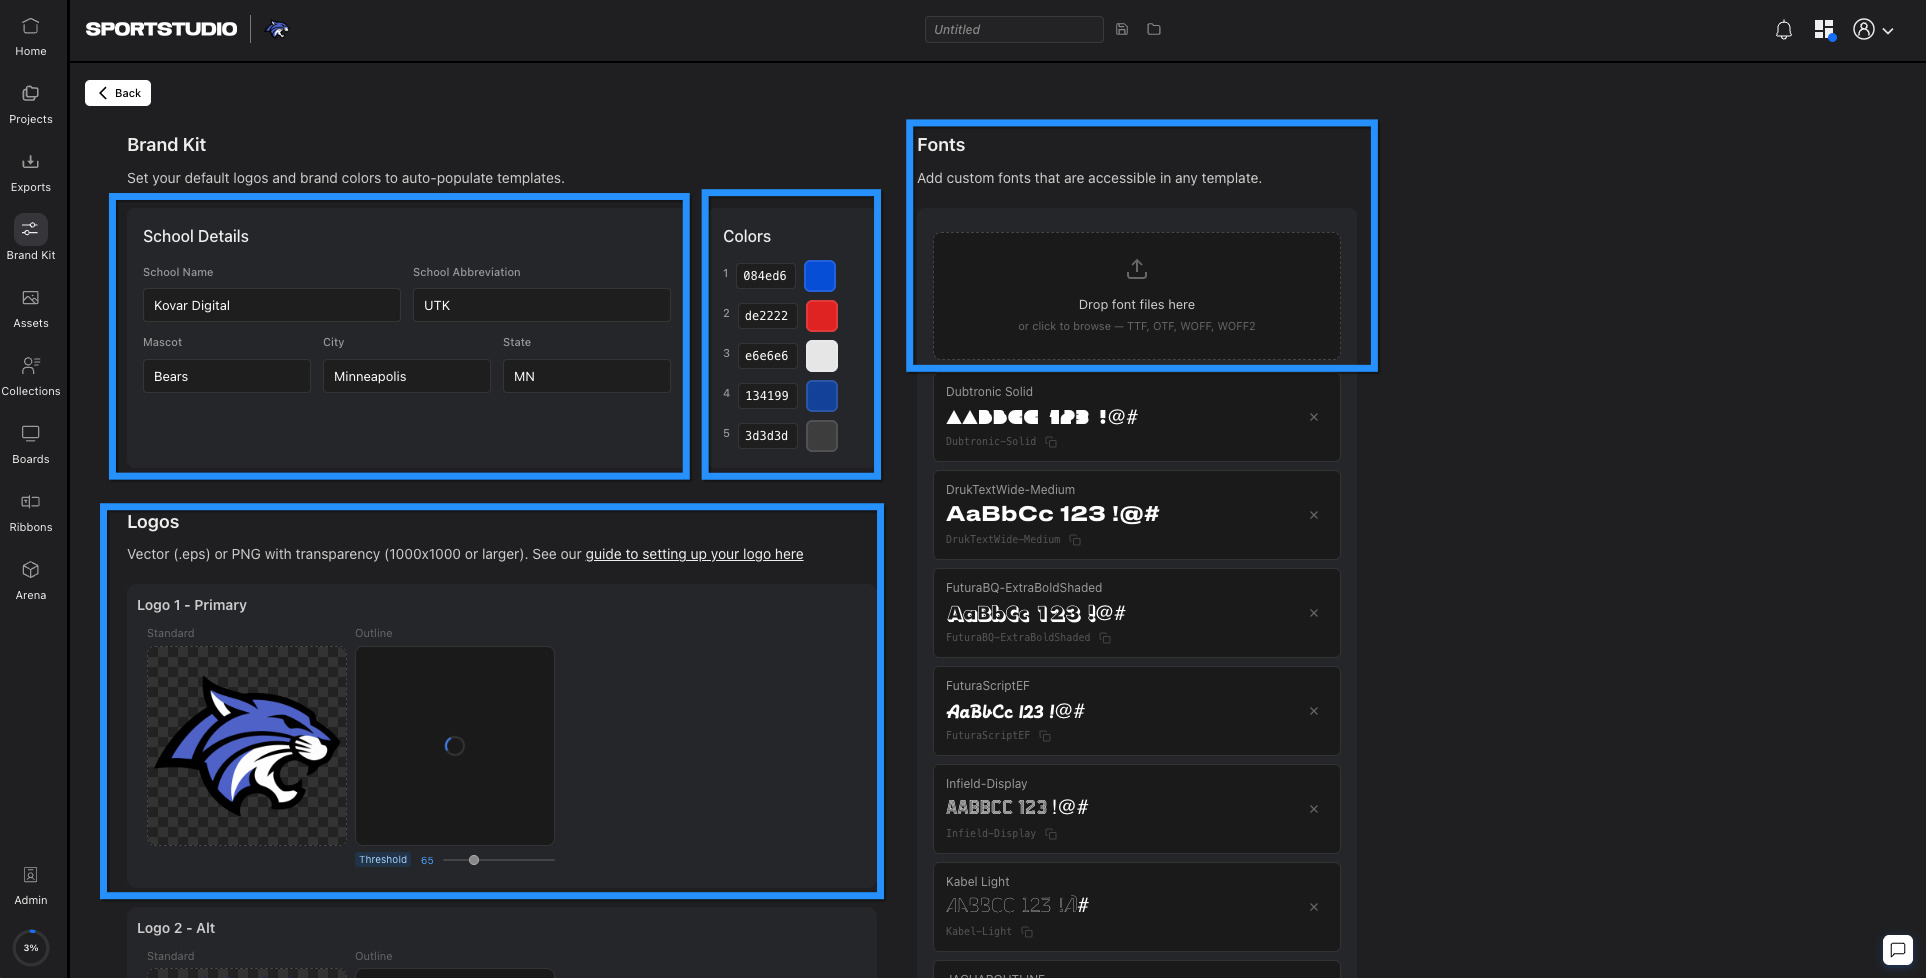
Before you start editing, open your Brand Kit and add your basics so every template pulls them in automatically:
- School details – your school name and city.
- Team colors – at a minimum, your primary and secondary.
- Logo – at least your primary. If it doesn't show up after you import it, adjust the outline threshold up or down until it looks right.
- Custom fonts – just drag them in.
More detail in the Brand Kit guide.
Edit a field
Click a field and change it. Say you change a number from 34 to 15: you'll see a spinner while SportStudio builds a preview, then the Preview panel updates with your change. That's the core loop, you edit and it previews.
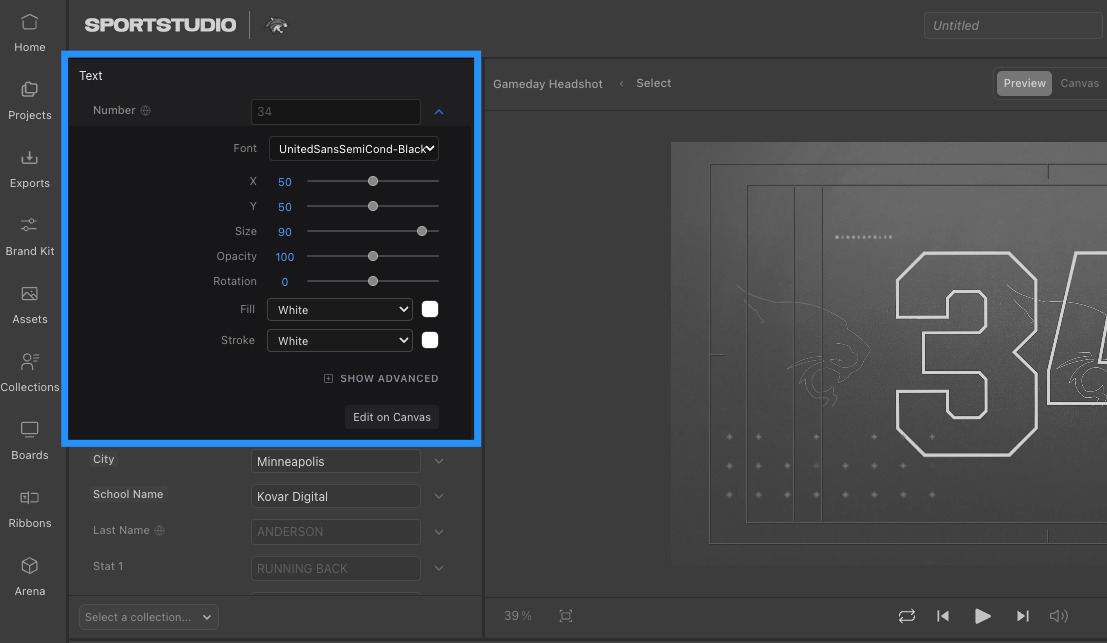
Twirl open any field to reveal more options: fonts, position, opacity, and color.
Labels
As you work, field labels are color-coded so you can tell what's going on at a glance:
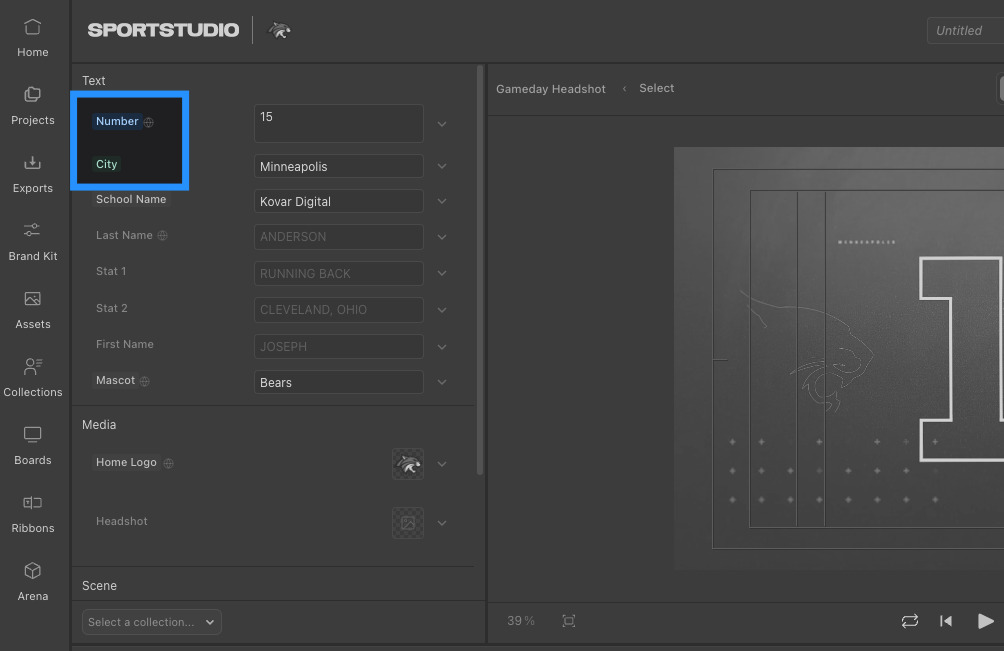
- Blue means you've edited that field, like the number you just changed from 34 to 15.
- Green means the value is coming from your Brand Kit, like your city or your primary and secondary colors.
Move things on the canvas
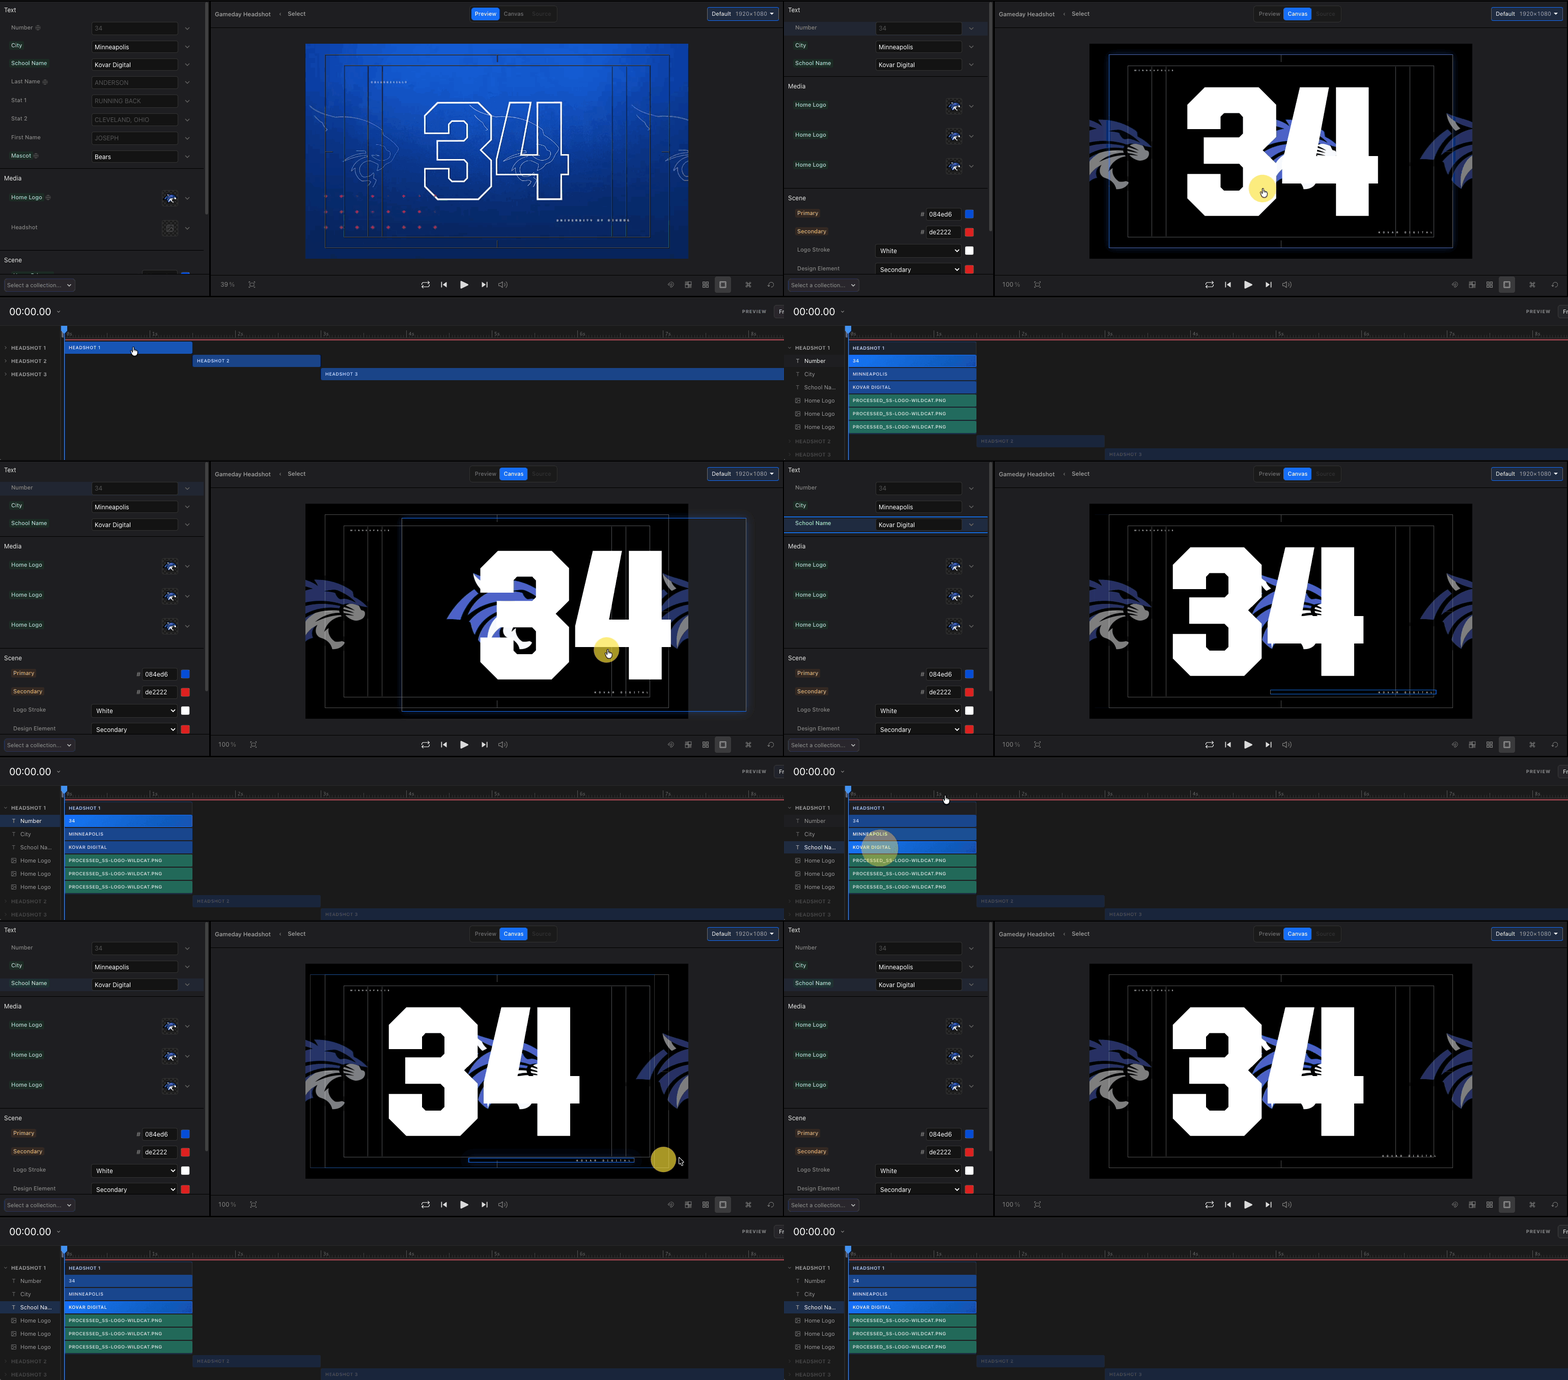
To reposition an element, open the Timeline, click the module you're working on, and you'll see all of its layers. Click a layer to highlight it in the editor, then drag it right on the canvas. No more nudge, render, nudge, you see the change as you make it.
Double-click into a layer to edit its source. You'll see three tabs:
- Canvas – all the elements together.
- Source – just that one layer's source.
- Preview – renders your change so you can see it.
Preview as you go
There are two ways to preview a section:
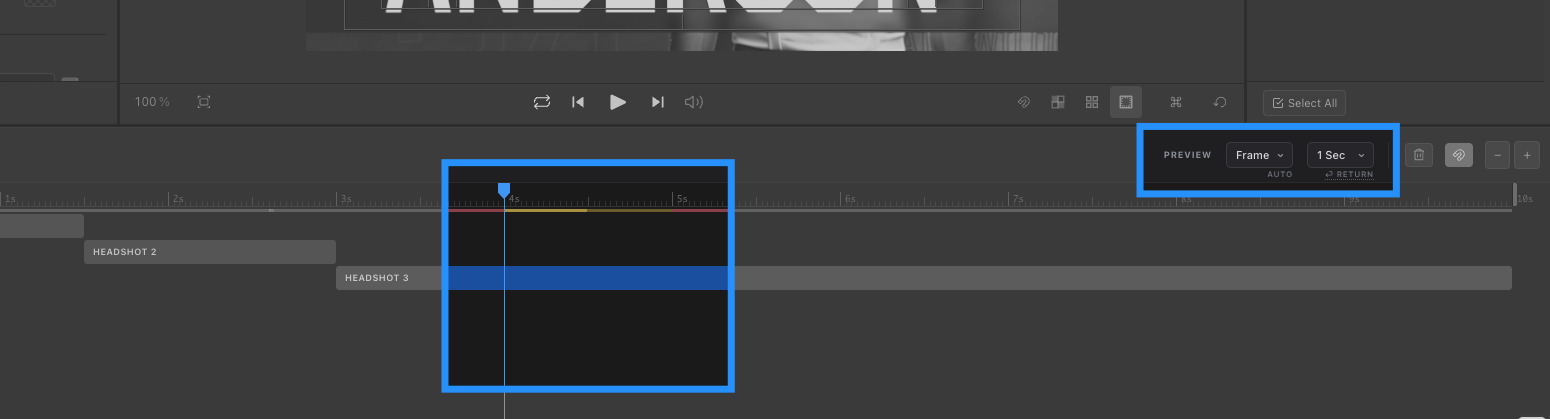
- Automatic: move the current time indicator and stop, and SportStudio builds a preview on its own. It turns yellow while rendering and green when it's ready. Control it with the auto-preview dropdown: off, one second, or two.
- Manual: by default, press Return to render a short section, about 30 frames, so you can watch that part play. You can also switch it to render just the single frame you're on.
Export and download
When you're happy, open the Export panel:
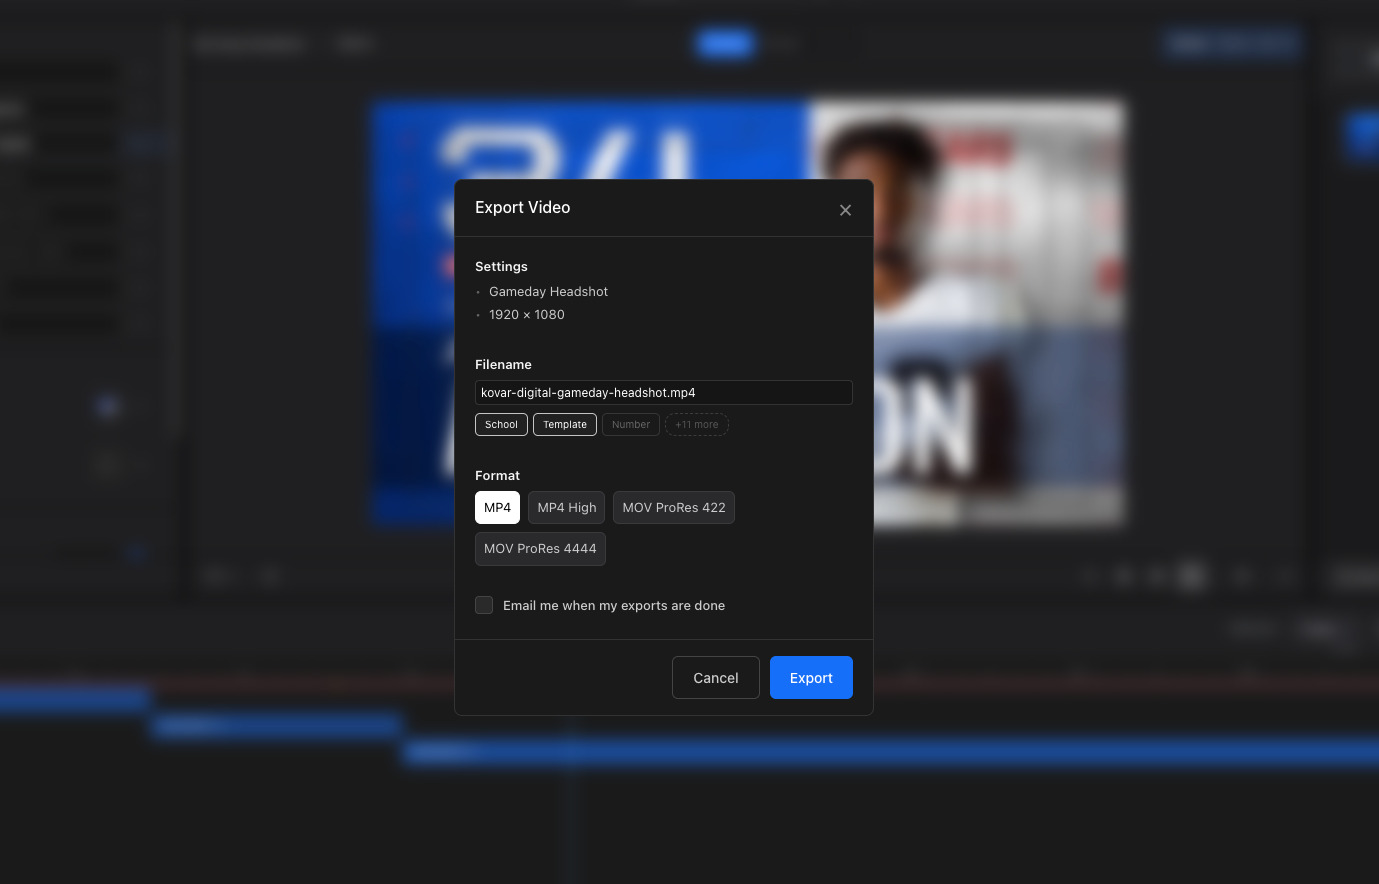
- Set the file name. It auto-fills with your school and the template name, or leave it as is.
- Pick your format. Need one that isn't listed? Ask us and we'll add it.
- Optionally, get an email when it's done.
Click Export and you'll see the progress. Most videos take a minute or two. When it finishes, download it right there. It also drops onto your timeline as a layer with a blue indicator, so you can scrub and play it back.
Where to go next
That's the quick tour. There's a lot more depth across the rest of the help center.
Still need help?
Our team works with sports organizations every day. If you're still stuck, we're happy to help.
Contact support →